
I'm sick of cleaning out makeup bags. Here's how I made my makeup board; it's cute but super cheap and super simple!
WHAT YOU'LL NEED:
- Picture Frame (mine was $1 at a garage sale!), the old looking ones are best for this.
- Sheet Metal (not aluminum) or anything thin and magnetic. I found mine at Lowe's for under $5
- Magnets or a sheet of self-adhesive magnetic tape, sold super cheap at craft stores
- Glue/Glue Gun
- Scissors and/or Tin Snips
- Fabric (optional), enough to cover the space inside the picture frame
- Makeup!


 | ||
| It may be small, but it's in the WORST SPOT! Be careful! |
If you find a use for the extra metal let me know, because otherwise it's going to sit around and cut me up randomly when I reach in my crafting box!
OPTIONAL
 If you'd like, you can cover your metal sheet with fabric. I found that the thinner the fabric the better, so that the metal and magnet still has a strong pull. However, if you chose not to use any fabric to be inside the frame it will still be just as functional.
If you have the choice of a few different patterns, try them all out inside the frame before cutting, it's much easier and saves a lot of time.

I, of course, chose the floral one... because this Quaint Floozy can't get enough floral in her life!

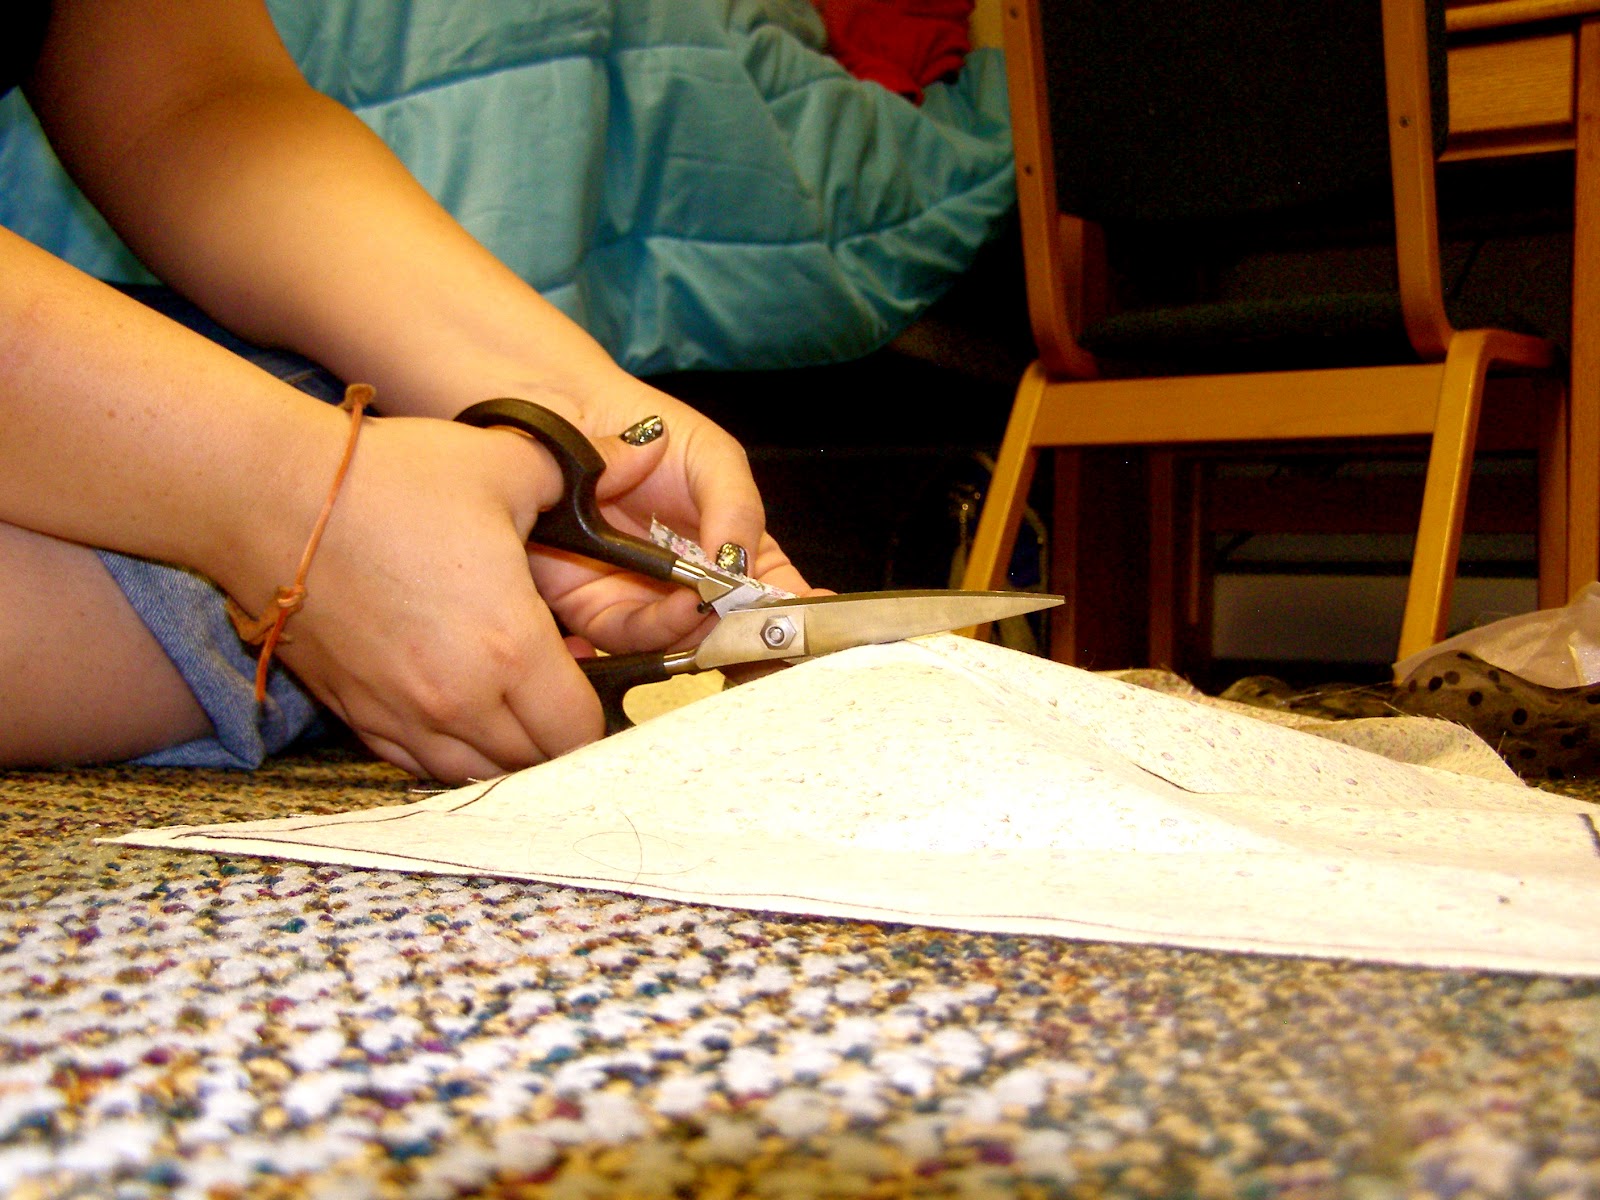
Once you've decided on a fabric, trace around the back of it. Leave at least an inch (or 3 cm) so that you can wrap it around the back.


Now cut out yo fabric, gurl!
 | |
| la la la, I love grapes, la la la, also love quakes |

 It should look like this as soon as you're finished gluing. It's okay if the corners come up where they fold, but I cut mine off.
Put all the pieces back in the frame (except no glass insert) and voila! You're finished with the main part.

This is what the finished frame should look like! Cute eh?
Almost done! Cut your magnetic tape, peel off the backing, and put it on the bottom of your makeups.


Finished Product should be similar to this:

I hope it works out as well for you as it has for me :) Go hang it in your bathroom! -QF
Your blog is lovely Kelsey and this is a super cute DIY! Can't wait for your next post.
ReplyDeleteThank you!
ReplyDelete